Video Editing Tips

Camflare is a powerful tool to assist you in making videos for your brand.
Whether it’s marketing, virtual events, testimonials, audition tapes, tutorials or video podcast episodes, the only limit is your own imagination.
Camflare records your video at its source, so you won’t be let down by poor internet connectivity, leading to more consistently clear video content. Having quality raw footage is an essential jumping off point for your content but taking it to the next level requires some editing.
This guide will provide you with a relatively simple checklist to take your content from the original to a professional, branded final piece.
Choose your software
Firstly, you need to choose and download your editing software (see our guide here).
Once you’ve familiarised yourself with your chosen software, it’s time to bring in your chosen clip or clips.
Where there are multiple takes, watch them back first and choose the best one that has the clearest message.
Cut your clip
Most people take a second or two to start talking after they click record, and the same at the end. It might not seem like a huge amount of time, but audiences have short attention span and every second really does count in the fight to keep them engaged with your content.
Use the ‘cut’ tool to tidy up the beginning and end, making sure that only the relevant moments are included.
Adjust the sound
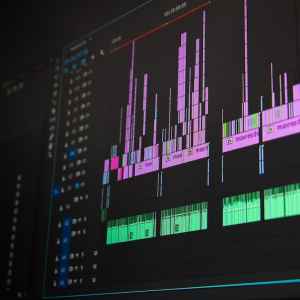
Listen to your clip. Is it loud enough? Is the audio consistent throughout? If not, most software, such as Premiere Pro, will allow you to key-frame sections to adjust the sound.
As a general rule, you should normalise the sound to -3db to increase the volume without distorting the sound.
If you choose to add music underneath the audio, ensure that it is much quieter than the rest so that it doesn’t distract or drown out the main voice.
Add titles and logos
A title is useful to have at the beginning to grab the attention of your viewers, and inform them about what they’re going to be watching.
‘Lower thirds’ are often added to introduce a speaker, typically these give the person’s name and job title, and are placed at the bottom left or right of the screen. Use a title guide to avoid placing them too close to the edges.
Finally, you can add your logo either at the start or end of the clip, or in the corner of the video throughout.
Export and upload
Once you’re happy with how everything looks, you’re ready to export your video and share it with others! These steps don’t take up much of your time, but help you video to look as best as it can so that it best represents your brand.
Start by recording your videos for free at www.camflare.io


