Expect More From Your Home Vlogs

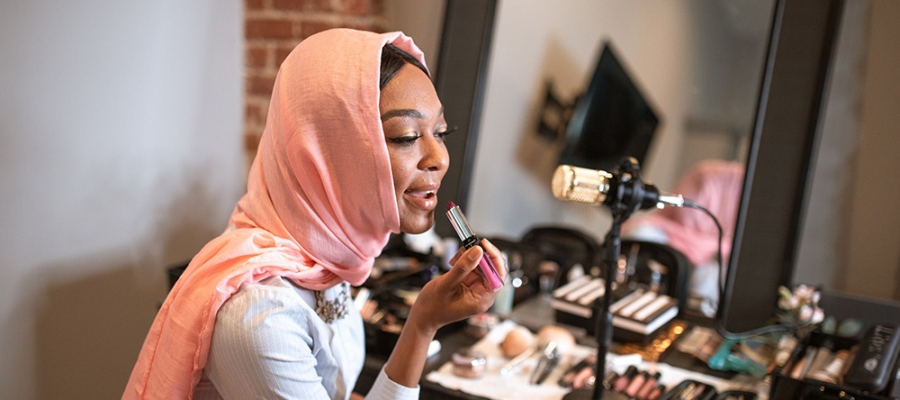
With most of us working from home, it’s likely that at some point you will have had to present or record a video from your own house. Whether you work in beauty, sports, cooking, education, finance or events, recording videos should definitely be on your radar.


Quality-wise, expectations have certainly changed, and it’s led to a landscape where content has trumped professional looks and there has been a huge influx of really authentic, personal videos that have done really well despite having bad audio or visual quality. However, it’s 2021 now, and like we’ve seen with ‘zoom fatigue’, this home-recording look has become saturated everywhere you look. It’s clear that this format isn’t going to be temporary, so it’s time we start to expect more from it. So - if you’re looking to stand out from the crowd, you should be asking how you can make your homemade content better.

The Easy Steps

These steps are the simple ones, that absolutely everyone can do minimal effort and at low cost!

1) Adjust your Lighting

This is the most often overlooked step, but it’s also the easiest to check! Your computer’s webcam does its best to adjust to the lighting automatically, but the fact is, it is going to really struggle to look good in low lighting.

We’ve made a full guide on lighting for you here, but essentially you want there to be as much light as possible - and for that light to be shining onto your face, not coming from behind it. Try sitting in front of a window if it’s day time, or turning on some lamps around you, and you will notice a marked difference instantly.

2) Avoid Relying on your Internet

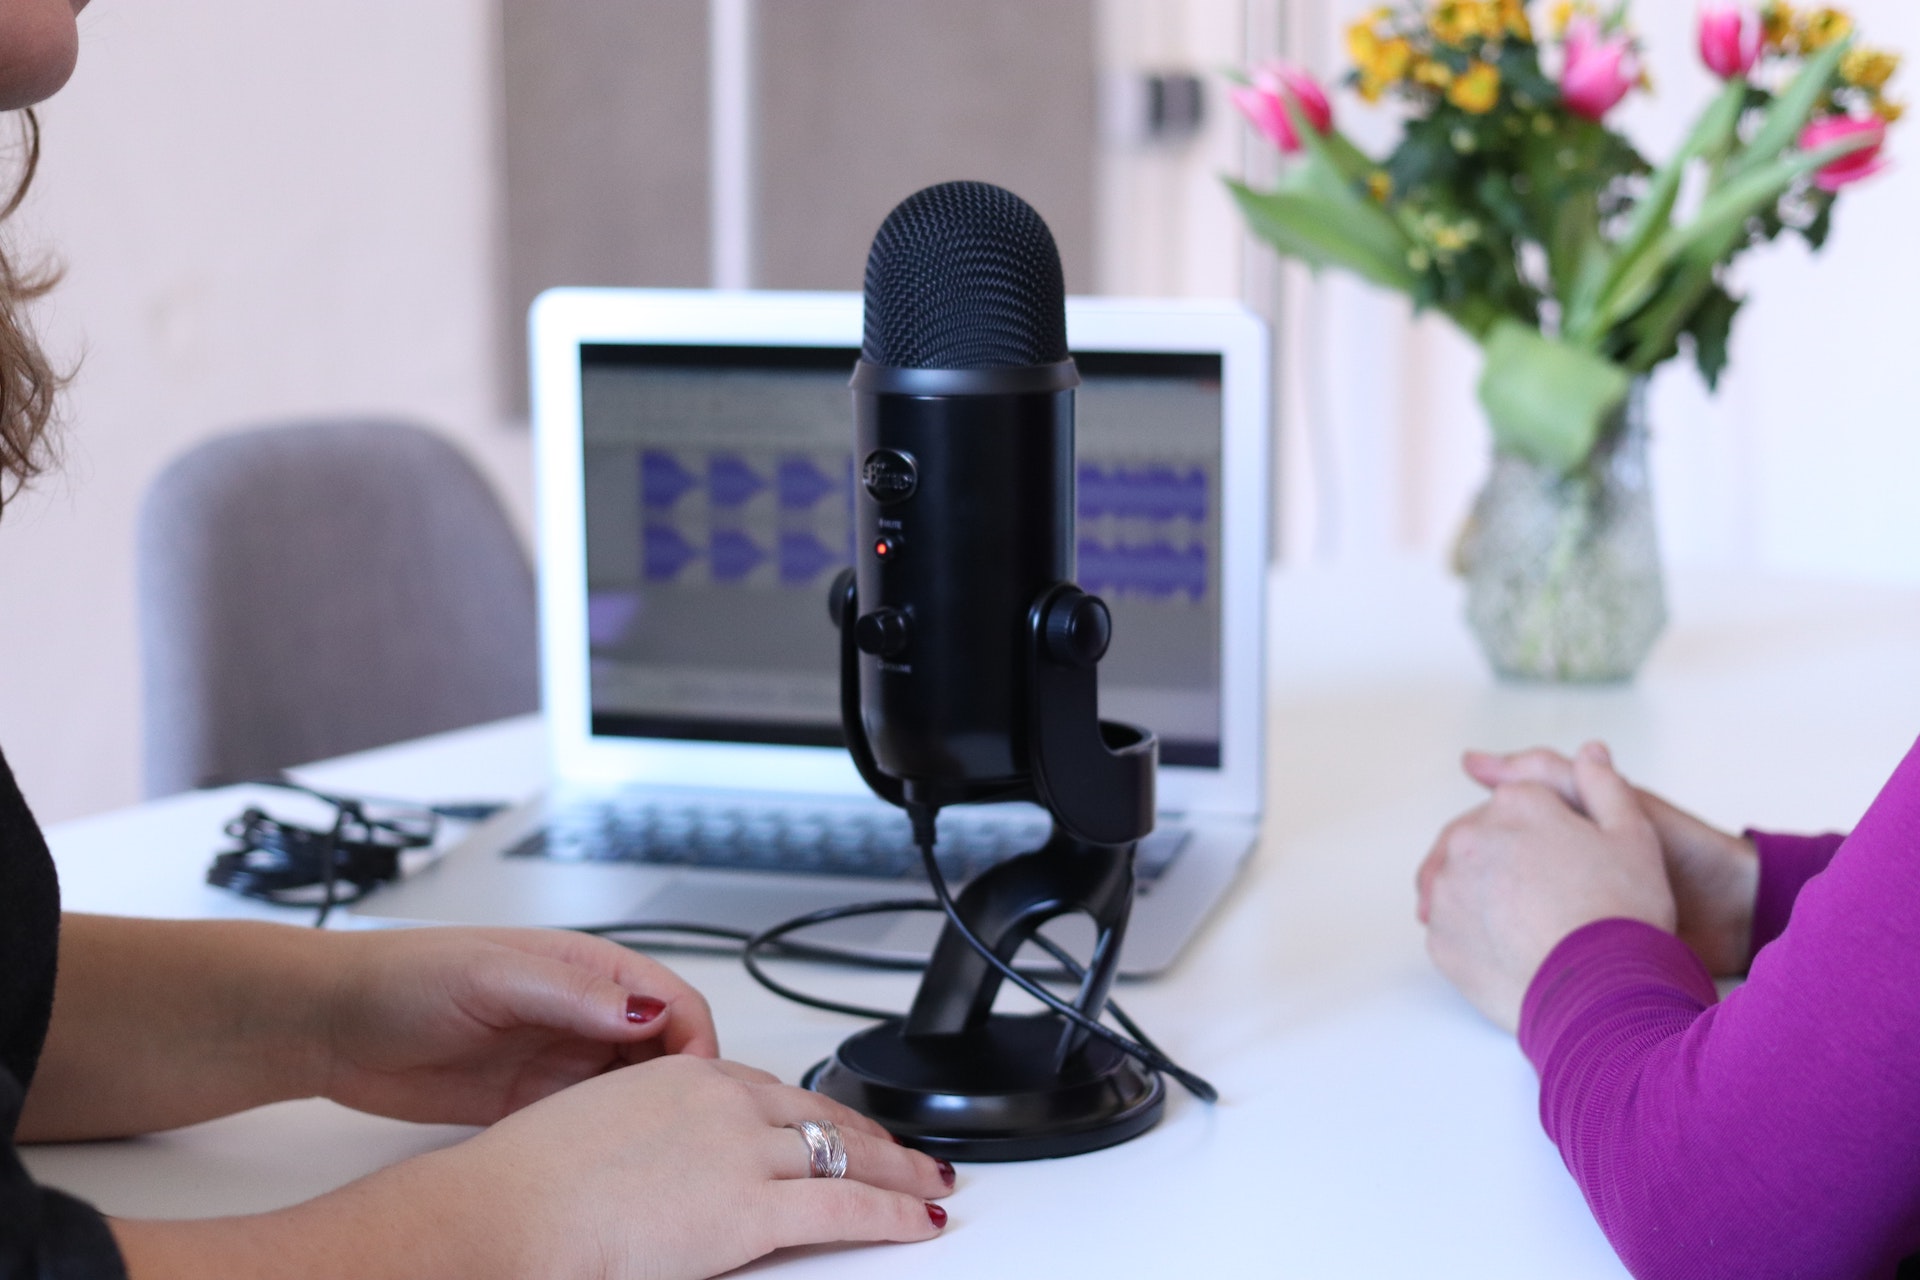
No matter how much you’re paying, your internet can go down or cause buffering. If your Wi-Fi is struggling, the first thing that will happen is the quality will be reduced on your video, and that’s going to cause you problems. That’s why we’ve made Camflare record locally to your machine, even though you can use it on desktop and via the app. That way, the recording won’t be affected by the internet, and will be as good as your camera is. 


We recommend that you record a back-up on Camflare even in situations where your content is going out live, so that if there are any issues you can send out the video to viewers later, and that way you will also have a high quality recording to use however you like after!


If you absolutely have to use the internet, you should conduct an internet speed test before you start so that you can spot any issues. Plugging in to an ethernet cable, or being as close to the Wi-Fi box as possible will help speed things up too.


Try Camflare for your Next Project

Join Now

Basic

FREE
  • Download recordings
  • Recordings up to 30 seconds in duration
  • Record video up to 720p*
  • Unlimited number of remote contributors
  • Upload to Dropbox
  • Teleprompter
  • One concurrent admin user

Professional

$25/mo

Pay annually save 20% $240

  • Download recordings
  • Recordings up to 20 minutes in duration
  • Record video up to 720p*
  • Unlimited number of remote contributors
  • Upload to Dropbox
  • Teleprompter
  • One concurrent admin user

Enterprise

PRICE ON REQUEST
  • Download recordings
  • Extended recording duration
  • Record video up to 1080p*
  • Unlimited number of remote contributors
  • Upload to Dropbox
  • Teleprompter
  • Add your own logo to the studio
  • Unlimited concurrent admin users

* Maximum recording resolution when using Camflare's mobile app. Recordings made in web browser will match the maximum resolution of the camera connected.

3) Use a Teleprompter

We all have different preferences for speaking directly to the camera, and for some people it’s easier to go off-book and just talk. For others, a more detailed script is required. Having a script is fine - if it helps you stick to the subject, you should definitely use it. The only time it’s an issue is if you are constantly looking off-camera at your notes, because this will distract your viewers from what you’re saying.


Fortunately, you can work around this issue with Camflare. We have an in-build teleprompter that comes up on screen for you, so your notes are right where you should be looking! Better yet - you can adjust the speed and size of them to suit you, so that you can speak naturally.


Camflare users with mobile phone filming

Camflare has an in-built Teleprompter

Sign Up Today!

Join Here

4) Get rid of that virtual background!

Nobody believes you’re on a beach in Barbados. Similarly, that fake office background you’ve put in to hide your messy room isn’t as convincing as you think it is. On high production recordings, a lot of time and experts are needed to make the person match the background in terms of scale, lighting and angles - so stop expecting that you can reproduce this at home. Instead, try to work with what you’ve got. If you’re lucky enough to have an office space, keep it tidy and professional. If you don’t want your personal items on display, that’s fine too - keep the background simple by finding a plain wall in your house and setting up around that.

Next Steps

These tips are for people who are making videos more regularly, and are looking to invest in tech and techniques to improve their videos' look.

1) Invest in a Microphone

The market can be a little overwhelming, particularly at the moment, but investing in the right microphone for you will be worth it in the long run if you’re planning on making multiple videos or audio recordings. We’re written an article with our favourite microphones, which you can read about here.

Microphones can significantly up your production value

Usb mics for podcasting

2) Use a Shallow Depth of Field

Most webcams don’t let you adjust the settings yourself, but if you’ve got a camera that can be used manually, then a slight adjustment can take your production to the next level. Open up your F-stop to as wide as it will go (this might be referred to as the ‘T-stop’ or the ‘Iris’ depending on what model you are using). This will create a shallow depth of field - essentially making your background blurry, and hence drawing the focus on to you. 


Make sure that you are in focus if you do this - as the room for error here is increased too! You should use auto focus where you can.

3) Edit your video in Post-Production

Once you've recorded, you can either publish your video as it is, or you can edit it. If you want to get to that next level of value, you should be thinking about how you can edit your video.

Including graphics helps to retain audience attention for longer pieces, and creating a title will draw attention to your video on people’s social feeds. Frames will also promote brand awareness and can give you the opportunity to promote any sponsors you may have involved in your project.
As you can see, you don’t have to wait for studios to open to create high quality content yourself, you just need to get creative and put some time in! The time to open up Camflare and get recording is now.

More Guides to Camflare

heart radio presenter

TheDadsNet Case Study with Heart Radio's Jason King

Camflare case study with broadcaster Jason King (JK), Heart Radio and TheDadsNet.

See more
What is Camflare

Bye-Bye Beta, Hello Camflare 👋

How much is a Camflare subscription and what does it allow me to do? Latest Camflare plans and pricing.

See more
Virtual Events audio production

How to Save your Virtual Event's Audio

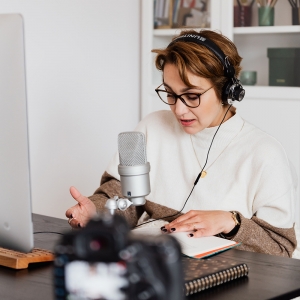
How to fix your event's audio problems before they happen.

See more